


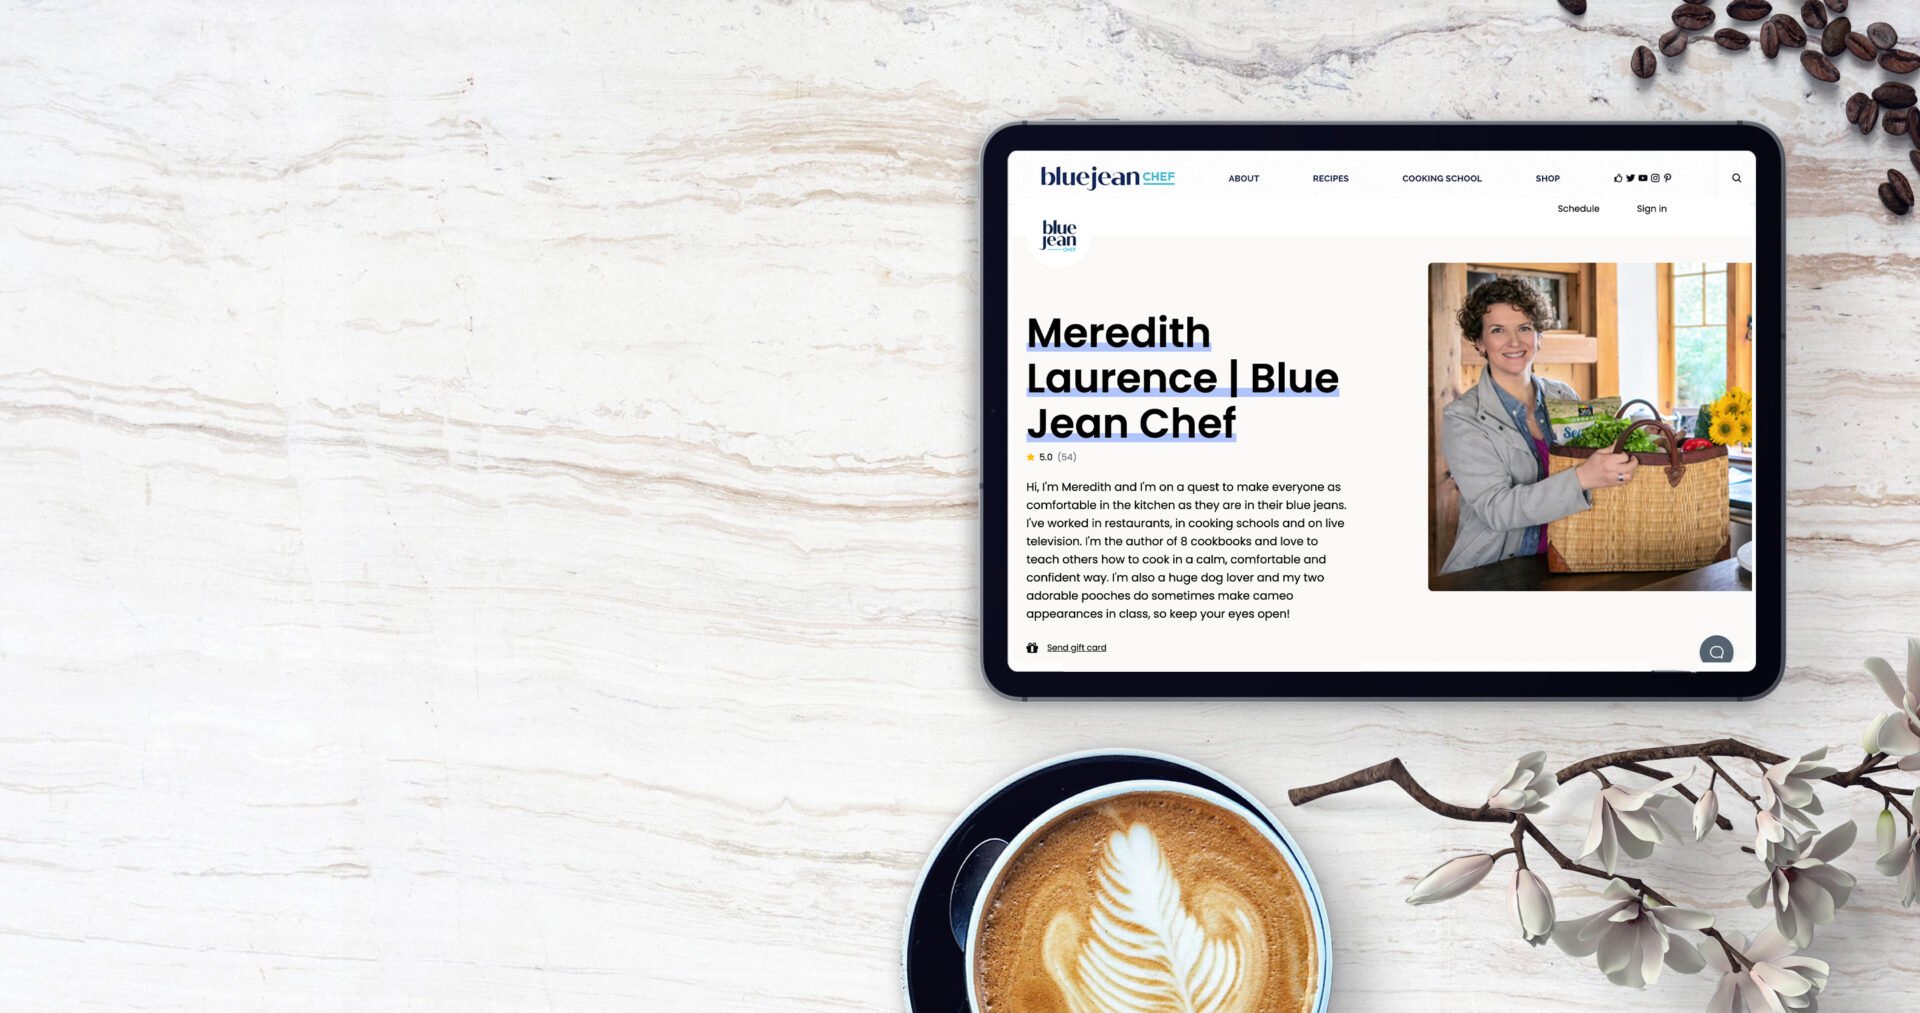
Discover
Cooking School
Visit the Free Cooking School to learn the basics or advance your skills with technique videos, recipe lessons, tutorials on kitchen equipment and cooking time charts...

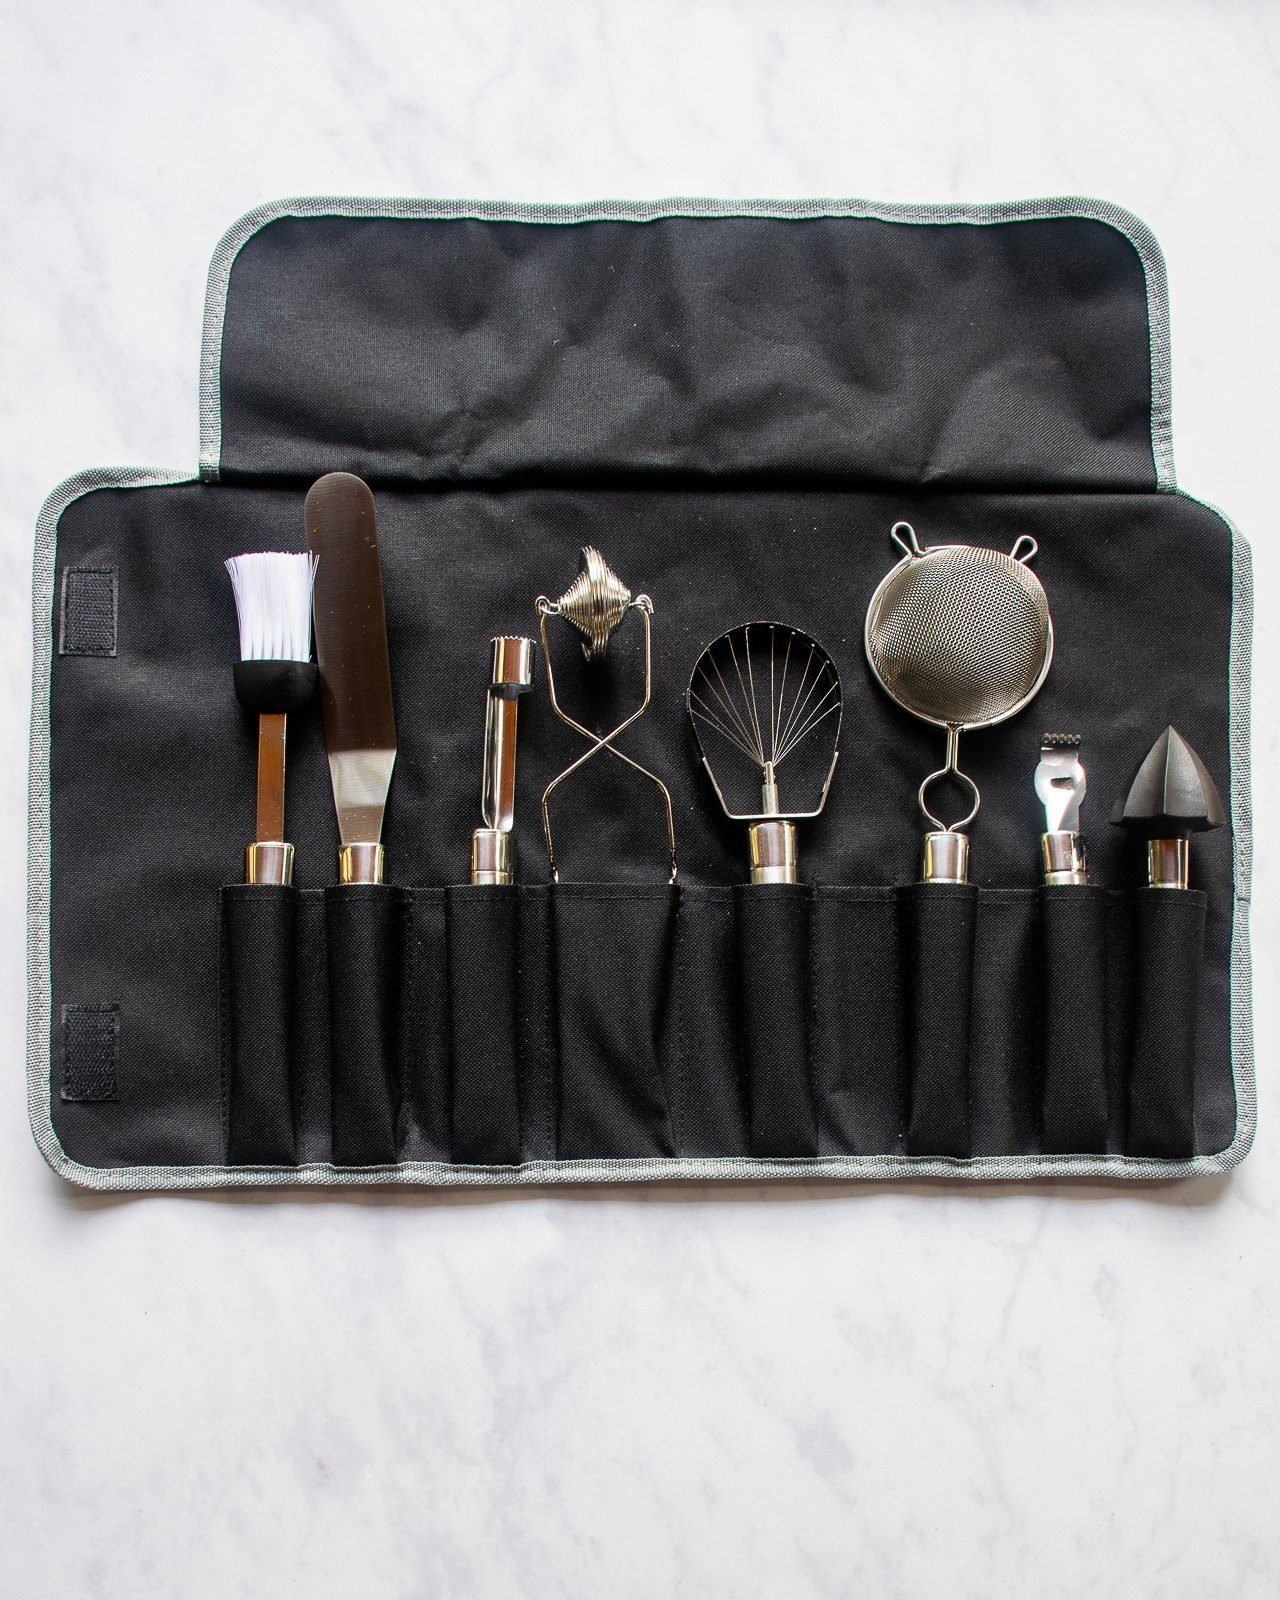
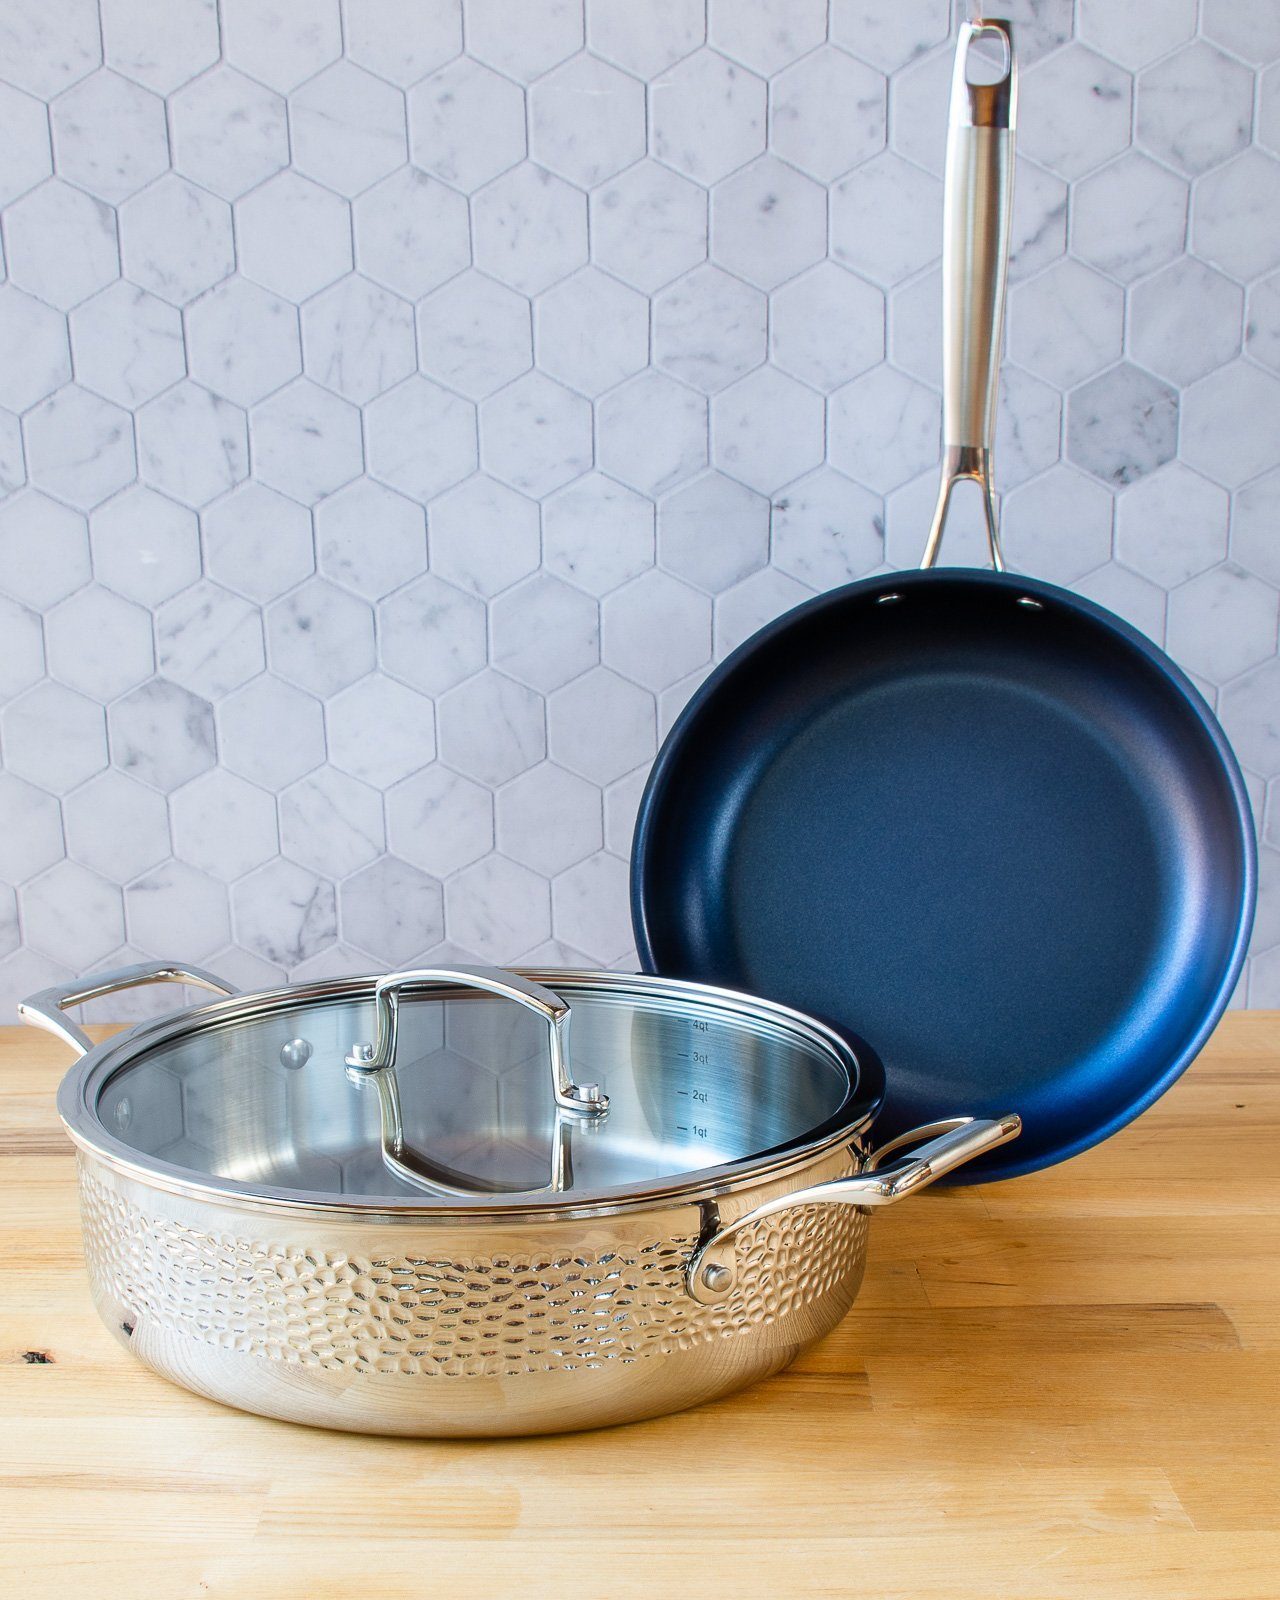
Available Now!
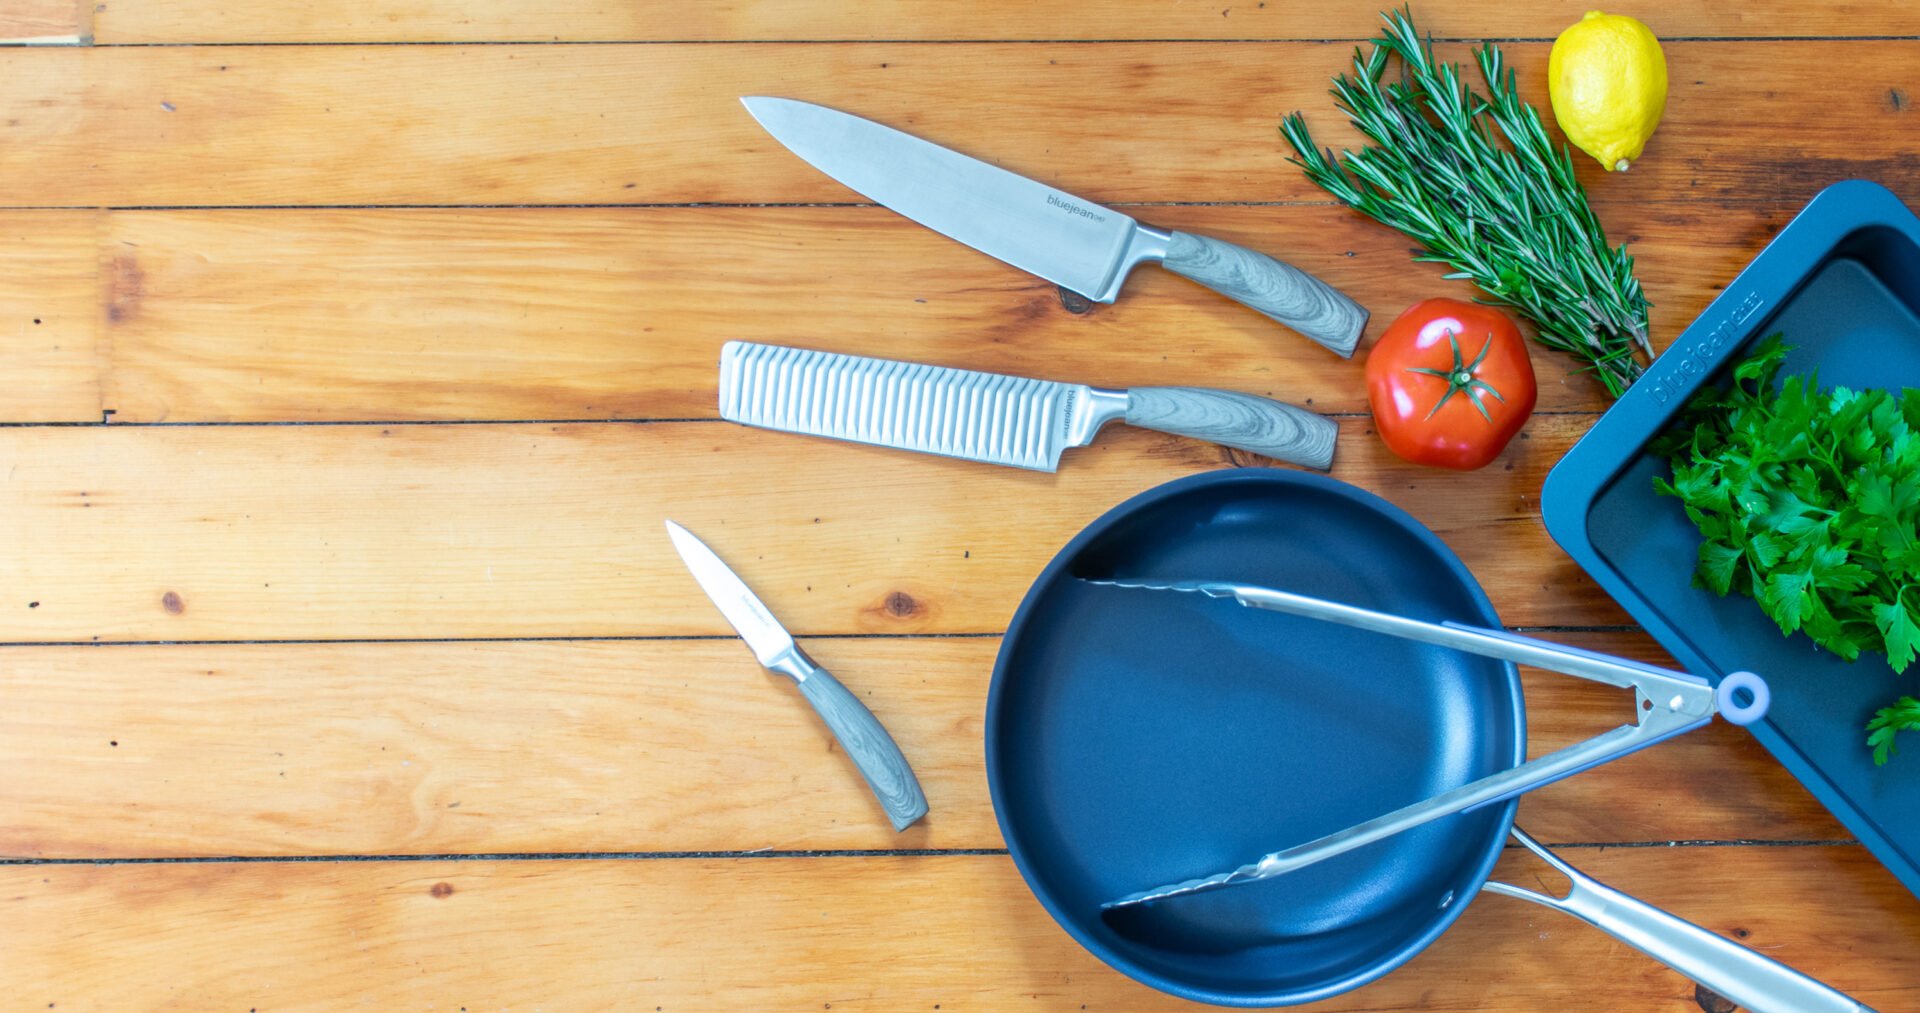
Blue Jean Chef Kitchen Wares
All the tools and equipment you need to make delicious meals at home with confidence.
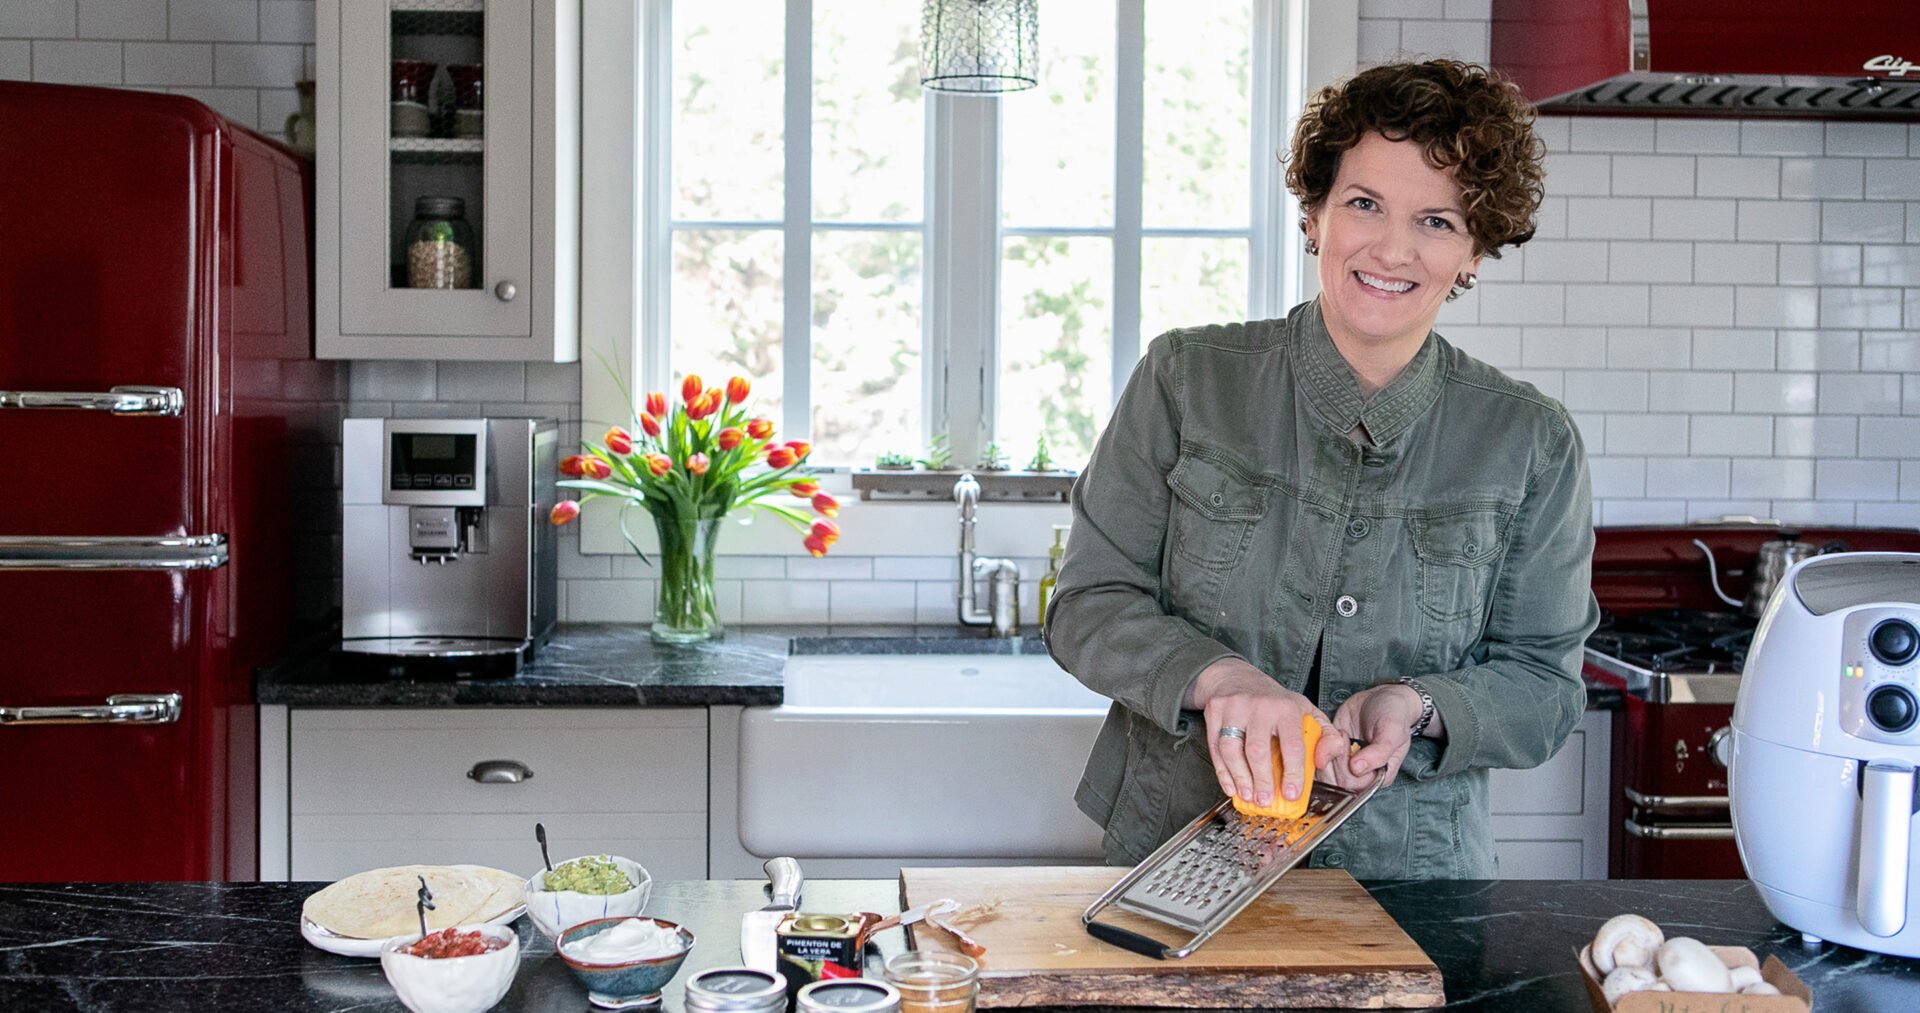
Let’s Cook & Share
See my latest on Instagram. Share your favorite BJC creations on Instagram and tag #bluejeanchef.