The beauty of No Knead Bread is that once you’ve made it a couple of times, you can start tweaking it to suit your needs – add some nuts, raisins, olives, herbs, or substitute in some ingredients like whole wheat flour. Anyone who has ever baked before will know that you can’t just blindly substitute whole wheat flour for regular flour, however. Whole wheat flour, because it contains the whole grain (bran, germ and endosperm) has a smaller percentage of gluten than white flour. Consequently, if you substitute whole wheat flour for white flour in a 1:1 ratio, you end up with a flat little, tough disk. You can, however, replace ¼ to ½ of the quantity of white flour with whole wheat flour and have success.
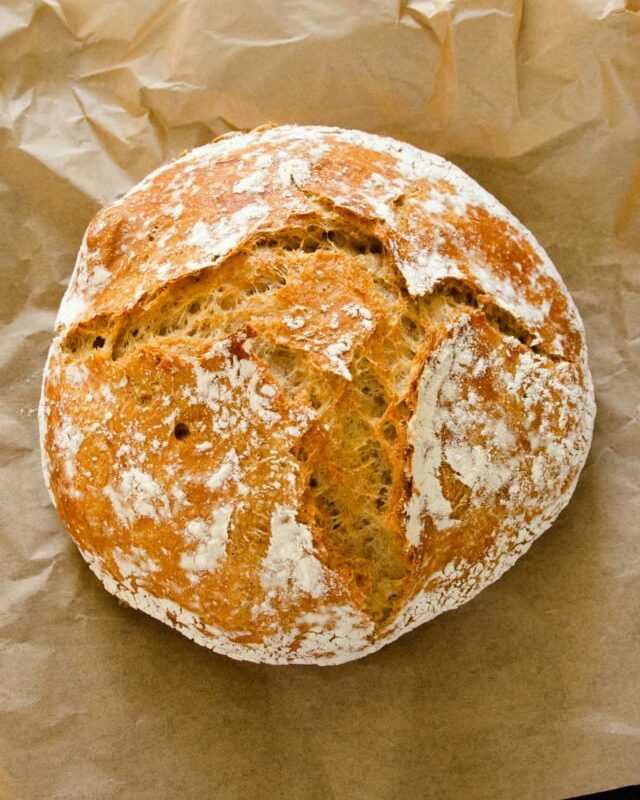
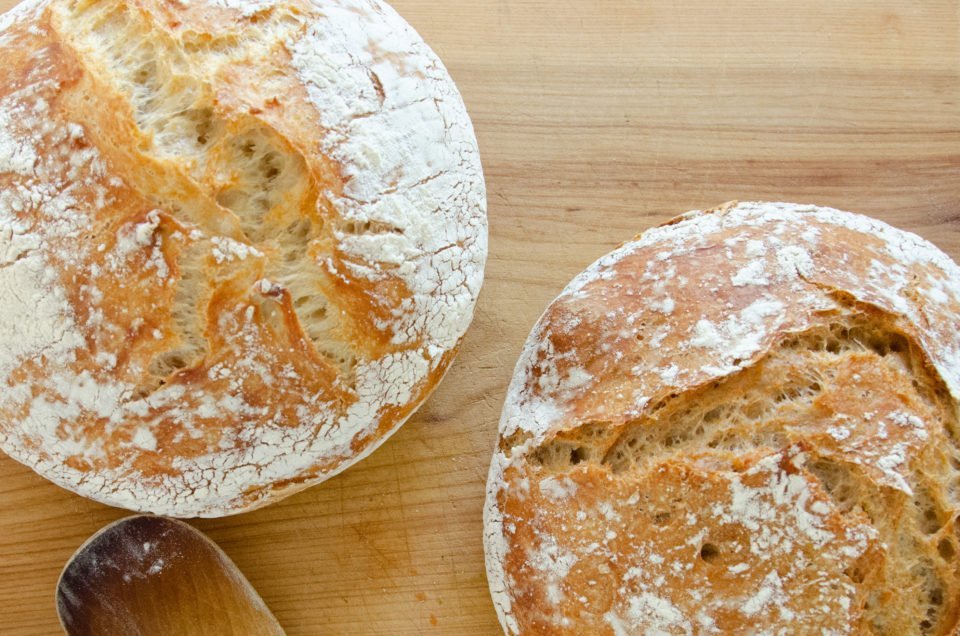
It has a darker, earthier appearance and taste, but still gives you that light airy crumb that you are looking for and is just as easy to make.
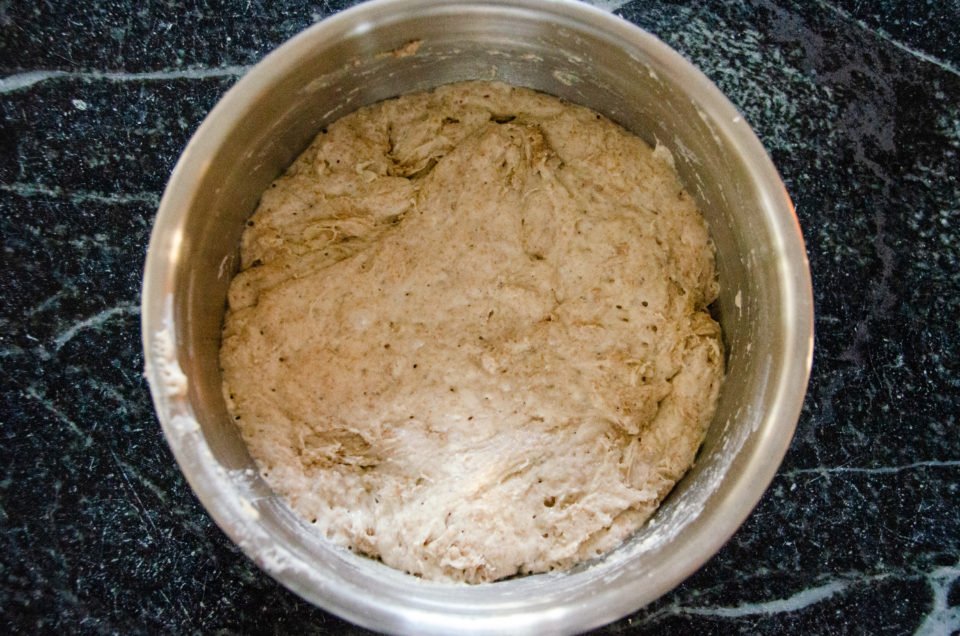
You will need to plan ahead, of course, when making this dough. The slow fermentation (rise) of the dough is what gives it its great flavor and allows the gluten to develop without kneading. That slow rise will take at least 12 hours, but is better if you let it take 18 hours or even longer. The second rise should be 1 to 2 hours long as well, so obviously you need to make this bread today and expect to eat it tomorrow.
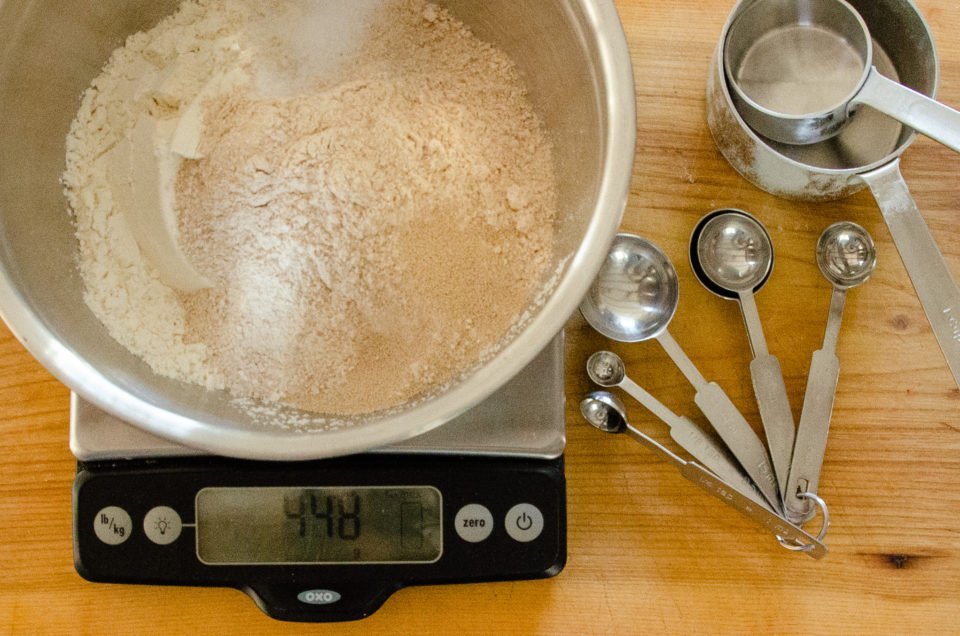
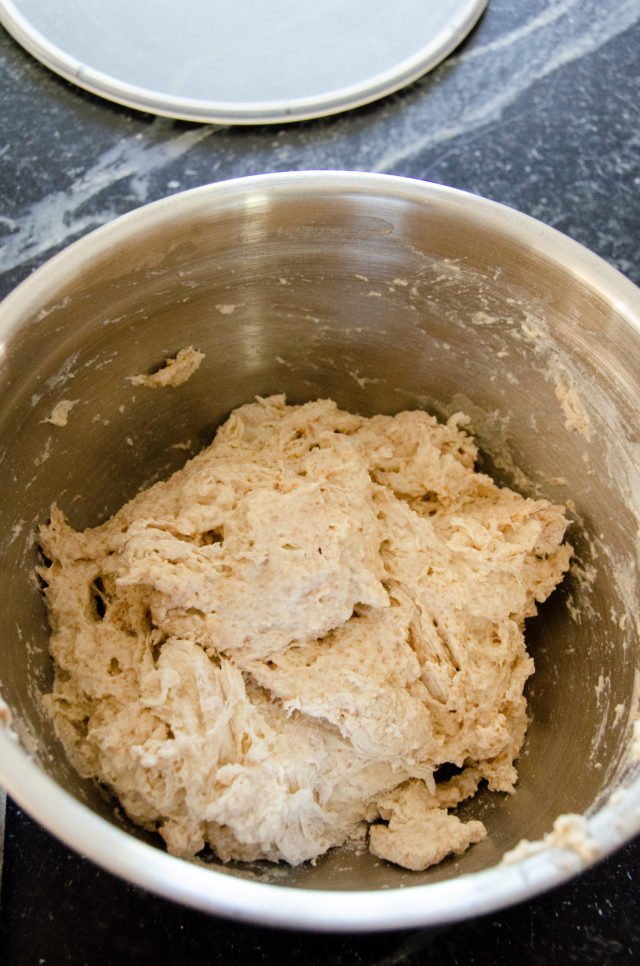
Once you’ve done your planning – calculating 18 to 24 hours backwards from when you want to enjoy the bread – the rest is really very simple. There are only 5 ingredients in this whole wheat no knead bread. Mixing them together takes just about 5 minutes of your time. The rest of the process is just “loafing around”. (couldn’t help myself!)
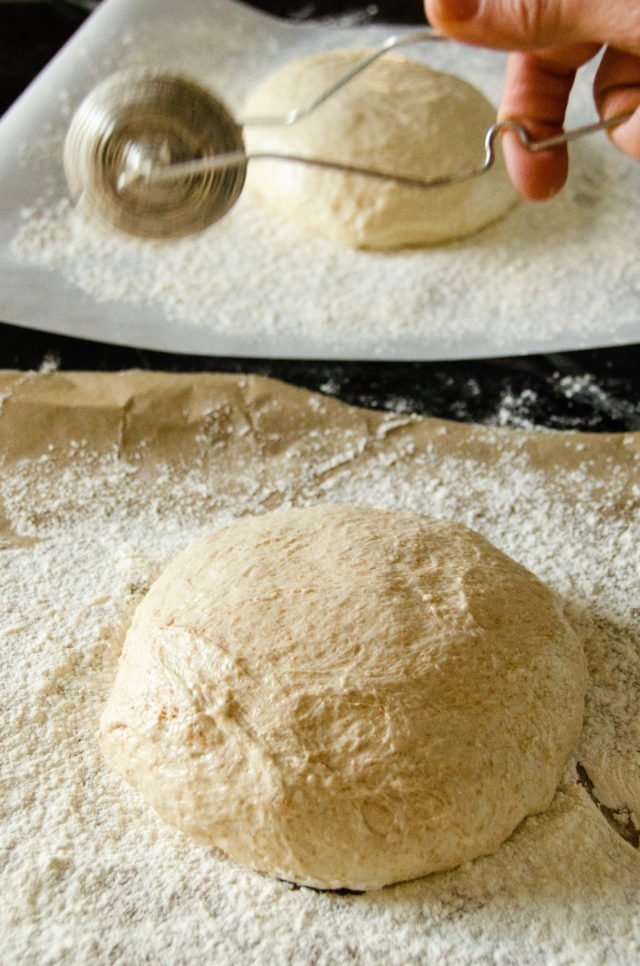
Be generous with the flour when you turn the bread out – it will save you a lot of frustration. It’s not a disaster if the bread sticks to the parchment paper, but it will tear the dough and it won’t be quite as pretty a loaf of bread as it could be. I use a manual flour dusting wand to give me the most even coating of flour.
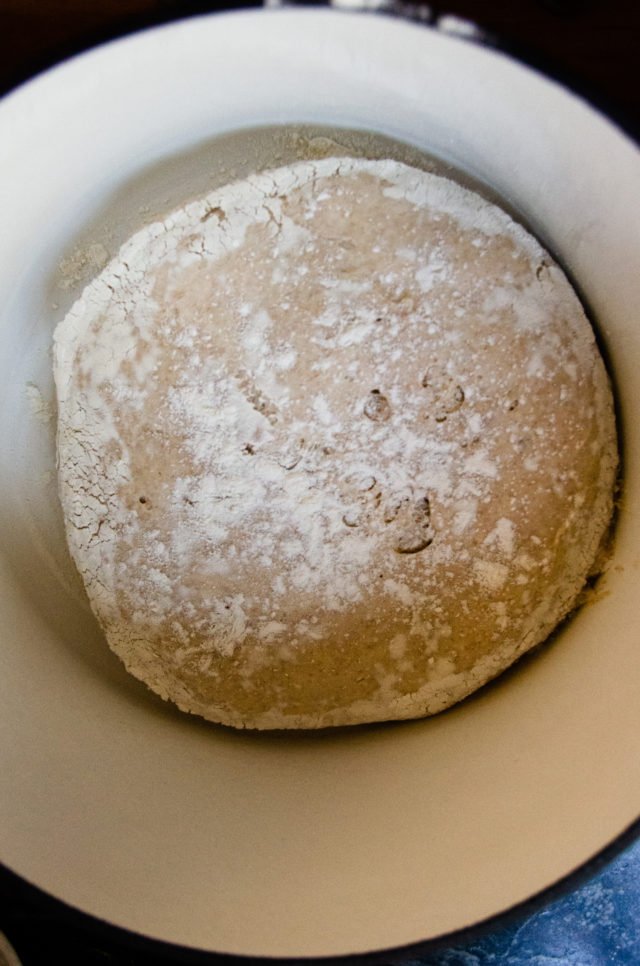
A cast iron pot is important to the recipe, although you could also use a heavy metal pot. Cast iron holds heat much better than aluminum or stainless steel, and it’s that intense heat that gives the bread a head start and helps it rise. The lid on the cast iron pot turns the pot into a tiny oven of its own and traps the steam that is released by the dough. That’s important for the crust. So, if you can, go with cast iron.
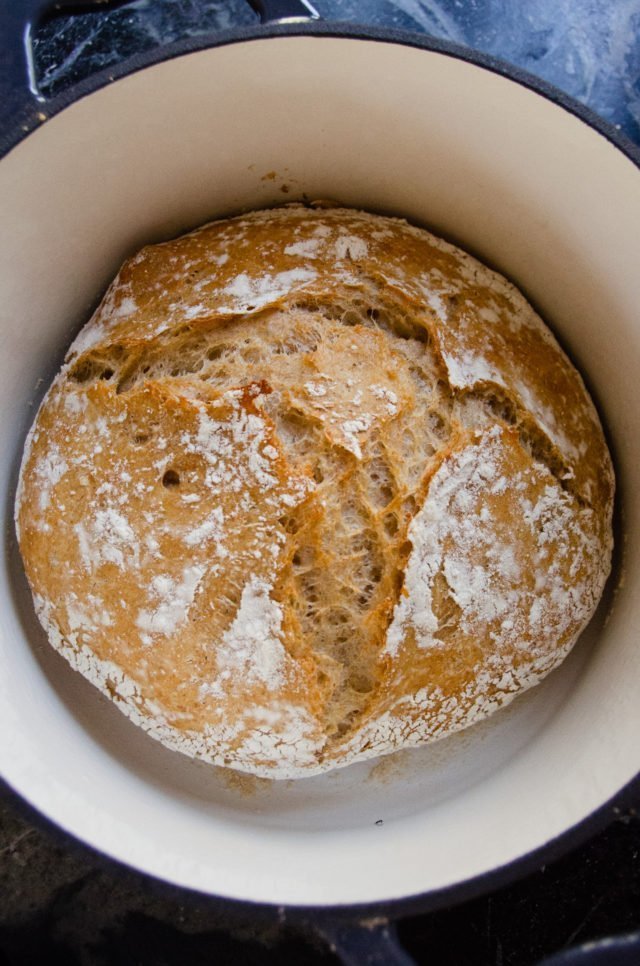
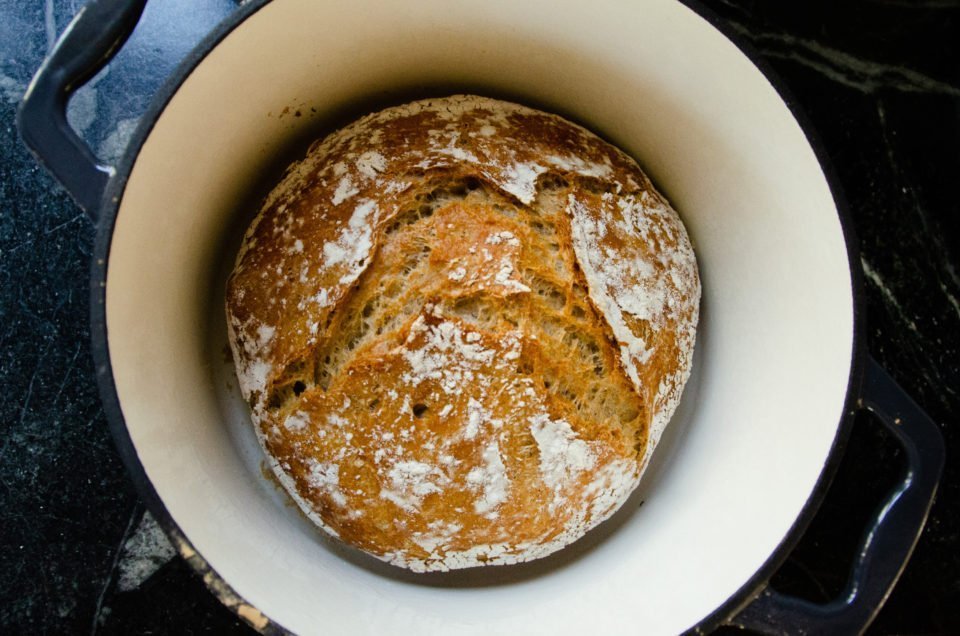
Once the bread is in the pot, there’s really no concern about it sticking at all. The bread will pop right out hen it has finished cooking. It will look as spectacular as the one below, the pot will need an easy rinse and you’ll look like a rock star baker.
If you like this whole wheat version of Jim Lahey’s No Knead Bread, try my traditional white version here.


I did it and it’s perfect and wonderful! The directions were spot on and everything went like clockwork. I love your recipes and also enjoyed your shows on QVC. Your success is much deserved. Many thanks
Meredith,
Greetings from Toronto from a fan that used to enjoy your demos on QVC.
When making thus whole wheat recipe may I:
1. Add a little honey or maple syrup to assist with the rise;
2. Use a 7 quart enameled Dutch Oven or is that too big? Note: I love crusty bread;
3. Use a Lodge cast iron non-enameled Dutch Oven?
Regards.
Hi Glenn in Toronto! 🙂 You can certainly add a little honey or maple syrup to the dough for flavor if you want to, but it won’t need any help with the rise. A 7-qt. Dutch oven will be fine. The bread might bake out a little instead of up, but it will be fine. And, yes, you can use a Lodge non-enameled Dutch oven. It might be prudent to let the dough rise for the last time on a piece of parchment paper and then just lift it up and put the bread, parchment and all, into the non-enameled Dutch oven. That will be easier to transfer and will ensure it won’t stick. Have fun!
Is there a recipe for whole wheat bread that calls for using more whole wheat flour? Most recipes I’ve seen only use a small amount. Is there a reason for that?
Whole wheat flour uses the whole grain and as a result does not have as high a percentage of gluten as all purpose flour. It’s the gluten that creates a lighter crumb, rather than a dense crumb. So, by combining the flours, you can end up with a bread that is not overly dense.
I am so excited to try this recipe…Where can I buy that wooden spatula you used in the video????
Hi Christine, That is a Mad Hungry spurtle. You can find them on Amazon or QVC.
ML
I made the whole wheat version of this recipe. It was the easiest and best bread recipe I’ve ever made. My family loved it and I will continue to make this bread. I’m teaching my son to make it now. Thank you again BJC for another family recipe.
How ca I incorporate honey in this.
Hi Diane,
I would use lukewarm water and try to dissolve 1-2 Tbsp honey in the water. Then, pour the water into the flours and go from there.
I have now made the whole wheat and regular versions of this bread and they are both delicious and beautiful. I feel like a professional baker!! Thank you Blue Jean Chef!
What size cast iron pan do you use? My pan is 4 qt. And the pan is 9.5 round. Is this sufficient?
I use a 5 or 6 quart pan for this bread, but I think you’ll be ok with your 4 quart. I have a friend who made it in a 3 quart pan and it worked fine. It rises higher (not a bad thing).
ML
I loved the taste of this bread, loved even more how easy it was to make. Being born and raised in Germany I was wondering, instead of using whole wheat flour can I use rye flour in it’s place? Would that come out okay or do I need to adjust other “things” in this recipe? You make every recipe so easy to follow and I love your videos, too. Miss you on ITKWD! Take care and thank you.
Hi there. Although I haven’t tried it, yes, I think you could substitute rye flour for the whole wheat. The bread will be more dense (as most rye breads are) because rye doesn’t have as much gluten as whole wheat. You’ll still want to keep some of the white bread flour in the recipe, however. Let me know how it turns out.
ML
I have just finished mixing and covered the bowl. When I knead tomorrow could I mix in some sharp cheddar before baking?
Hi Tracy. There’s not much kneading required before baking, so other ingredients are best added to the dough when you first mix it. You’re probably thinking that the cheese needs to be refrigerated, but I think it would be fine in the dough on the counter overnight. You could try to gently fold some cheese into the dough before letting it rise again the morning, but make sure you give it time to recover and rise after that.
I accidentally mixed in 1 tsp. of yeast. Is it ruined?
Hi Rosemary. I’m sure you have already baked your bread and I’d love to hear how it turned out. With so much yeast, your dough would have been very active. The risk is that it might have collapsed on you before you got around to baking it – the yeast would have run out of food. Then again, depending on the temperature of the environment it was sitting in, it might have been fine.
Hi Meredith. I did eventually try this recipe with rye flour and the bread was very dense because of the missing gluten. So, long story short, I got some gluten flour and added two Tbsp to the recipe and a little bit more water. Also added two Tbsp of Caraway seeds. The bread came out so awesome that I haven’t bought a loaf of bread since. Between your recipe and my tweaked one I am a happy bread eater! Thank you for this original recipe that I could tweak into an awesome loaf of rye bread. Glad to see you back on ITKWD!
So great you are enjoying and adapting the recipe to your liking!
Can you let it rise for 24 hours? Thank you
You will want to let the dough rest for 12 to 18 hours for the optimal balance of flavor and texture.
What kind of salt do you use? table? kosher?
Meredith does use Kosher salt, but you can use table salt as well.
Can I use a loaf pan
I haven’t tried making this bread in a loaf pan. One of the key components to the recipe is using a pre-heated cast iron pot that has a lid. That creates an oven within your oven and traps the steam that helps create the crust. You could try making it in a loaf pan – shaping it in the loaf pan after the long rise and letting it do its second 1 – 2 hour rise in the pan before transferring it to the oven – but it will be a different result.
Use two loaf pans one on top and clipped with binder clips mini oven
Can I use all wheat flour instead of white flour thank you
As Meredith explains on the recipe page, you cannot substitute whole wheat flour for regular flour because because it contains the whole grains that have a smaller percentage of gluten than white flour. If you use all whole wheat flour, you will end up with a flat little, tough disk. It is best to use the ratio of whole to white flour in the recipe for best results.