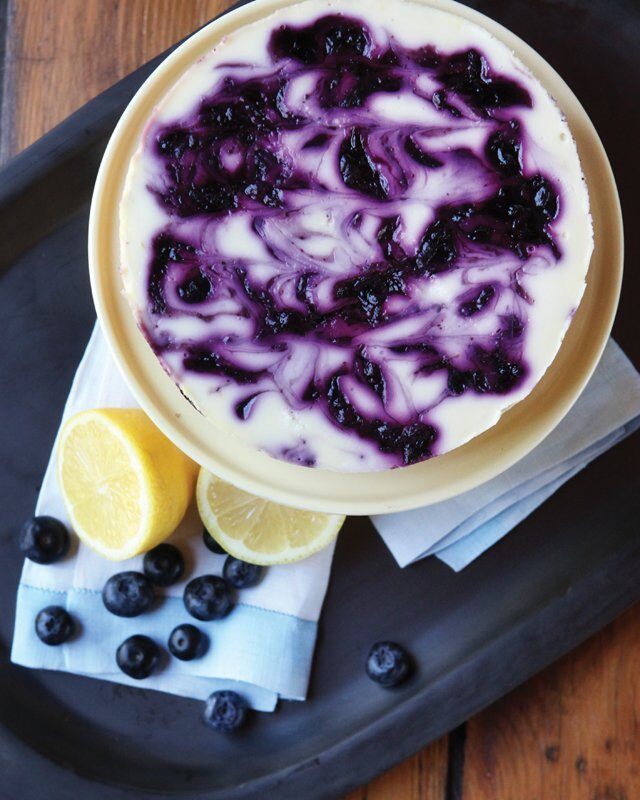
Lemon Blueberry Cheesecake
This lemon blueberry cheesecake is one of the lightest cheesecake recipes I've written. It has a bright lemony flavor that contrasts nicely with the sweet and creamy cheese
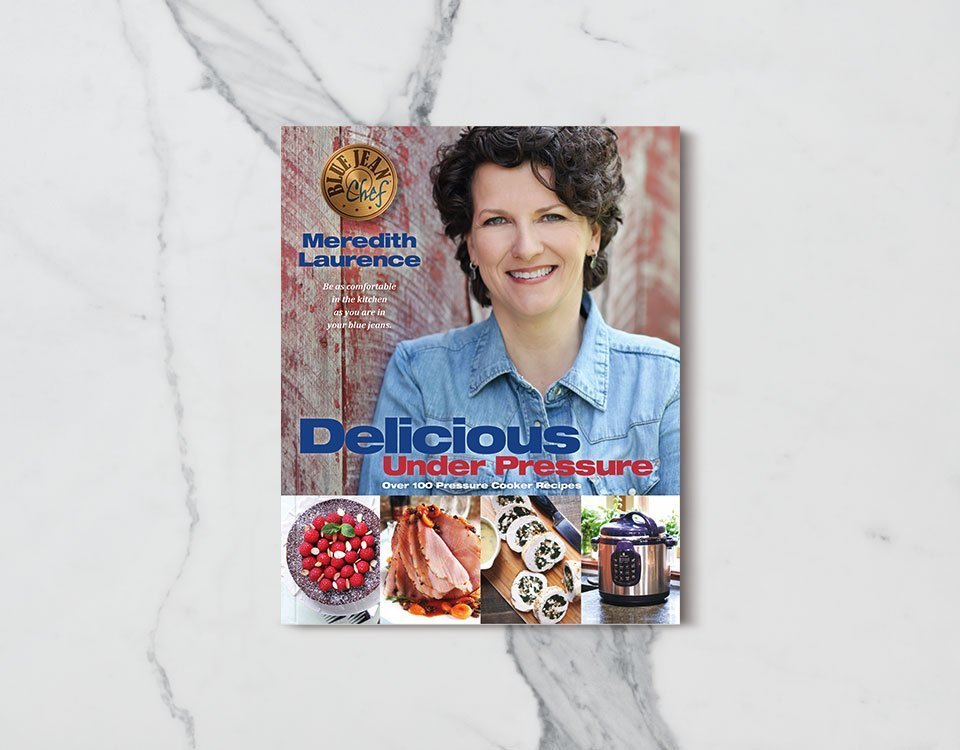
Featured In My CookbookDelicious Under Pressure Jump to Recipe (or scroll for photos and riveting information...)Featured Recipe Techniques
More about the skills used in this recipe.
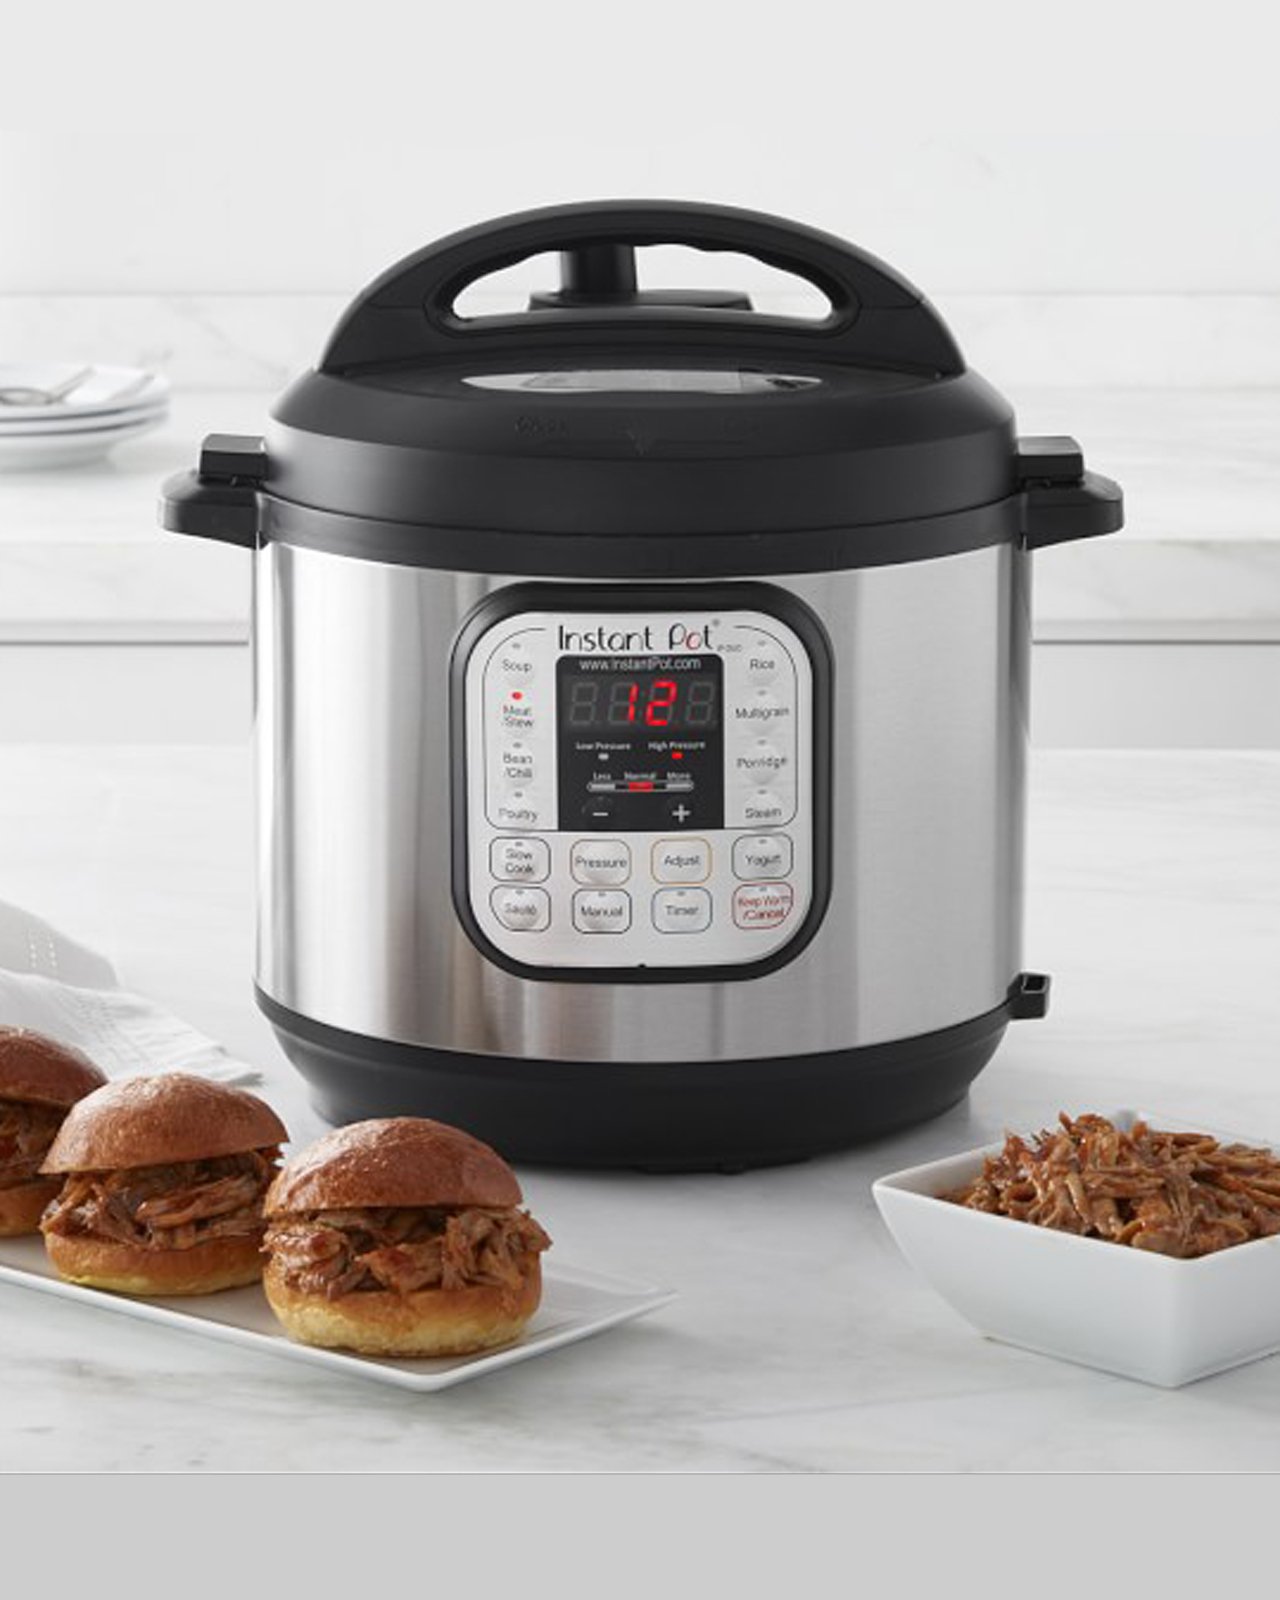
Pressure Cooking Charts
Complete Pressure Cooker (Instant Pot®) Cooking Chart with cooking times, amount of liquid needed, and pressure release method to use...View Technique
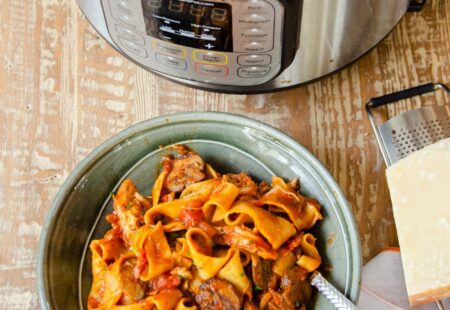
Converting Recipes to the Pressure Cooker
Just follow a few simple rules and you'll be able to convert your traditional recipes to the pressure cooker -...View Technique
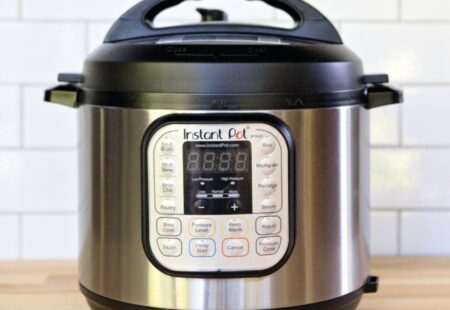
General Tips for Pressure Cooking
It is important to understand your Pressure Cooker to use it properly. Use the items below as guidance to continue...View Technique
Lemon Blueberry Cheesecake
- Prep Time: 25 m
- Cook Time: 22 m
- Total Time: 47 m
- Servings: 6
Ingredients
- 6 graham crackers crushed
- 1 teaspoon finely grated lemon zest
- 2 tablespoons butter melted
- 1 cup fresh or frozen blueberries plus more for garnish
- 1 to 2 tablespoons sugar depending on the sweetness of the blueberries
- 1 teaspoon cornstarch
- Juice of ½ a lemon
- 16 ounces 1 pound cream cheese, room temperature
- 2/3 cup sugar
- 1 tablespoon lemon juice
- 2 teaspoons finely grated lemon zest
- 2 eggs
Instructions
- Line the inside of a 7-inch cake pan with a large piece of greased aluminum foil (greased side facing up), pushing it into all the edges of the pan.
- Crush the graham crackers and the lemon zest together in a food processor until they form fine crumbs. Mix the crumbs with the butter and press the crumb mixture into the base of the cake pan. Refrigerate while you prepare the cheesecake batter.
- Place the blueberries, sugar, cornstarch and juice of half a lemon in a small saucepan and bring to a boil. Stir, crushing the blueberries as you go, and simmer until the sauce has thickened slightly. Let the blueberries cool and then transfer them to a zipper sealable bag.
- Using the paddle on your stand mixer with low speed, or the regular beaters on a hand mixer on low speed, or a food processor (scraping the sides of the processor bowl several times) blend the cream cheese until it is completely smooth with no lumps. When all the lumps in the cream cheese have disappeared, add the sugar, lemon juice and lemon zest. Blend to incorporate the ingredients and then add the eggs one at a time, mixing only to distribute the eggs evenly in the batter. Do not over-mix at this point.
- Pour half the batter into the cake pan with the graham cracker crust. Cut a corner off the zipper sealable bag with the blueberry mixture and drizzle half the blueberry mixture over the cheesecake in a zigzag pattern. Run a knife through the sauce, perpendicular to the zigzags to create a swirl look. Repeat with the remaining cheesecake batter and blueberries, making a pretty swirl pattern on top. Cover the pan tightly with more greased aluminum foil.
- Place a rack in the bottom of the pressure cooker and add 2 cups of water. Lower the cake pan into the cooker using a sling made of aluminum foil (fold a piece of aluminum foil into a strip about 2-inches wide by 24-inches long). Fold the ends of the aluminum foil into the cooker and lock the lid in place.
- Pressure cook on HIGH for 22 minutes.
- Let the pressure drop NATURALLY and let the cheesecake sit in the turned off pressure cooker for one hour. Carefully remove the lid and transfer the cheesecake from the cooker to the counter using the aluminum sling or rack. Let the cheesecake come to room temperature and then remove the foil from the top of the cake pan. Blot any liquid that might have condensed on the surface of the cake, wrap it in plastic wrap and refrigerate for at least 8 hours.
- Bring the cake to room temperature before serving, and serve with more fresh blueberries and lemon zest if desired.
Nutrition Facts
Lemon Blueberry Cheesecake
Amount Per Serving
Calories 482
Calories from Fat 297
% Daily Value*
Fat 33g51%
Saturated Fat 18g90%
Cholesterol 148mg49%
Sodium 390mg16%
Potassium 168mg5%
Carbohydrates 42g14%
Fiber 1g4%
Sugar 32g36%
Protein 8g16%
Vitamin A 1225IU25%
Vitamin C 4.6mg6%
Calcium 93mg9%
Iron 1.2mg7%
* Percent Daily Values are based on a 2000 calorie diet.


I have a question. In step 8 you say to remove the foil from the TOP of the cake pan after it comes up to room temperature. At what point do you remove the cheesecake from the cake pan itself?
Hi Terry. I would leave he cake in the pan until you are ready to serve. It should have time in the refrigerator to set up properly and then, when you’re ready to serve it, remove the cake from the pan. You can smooth the sides of the cake with a hot butter knife if there are any creases there.
ML
In the recipe you call for 6 graham crackers. Is that the whole rectangle or the square half? I don’t know what constitutes a graham cracker with as many ways as you can separate them. Thanks for your help in advance
Hi Diane,
That refers to a whole rectangle. 🙂
ML
Could I make this in the oven? Looks delicious!
Hi Jo Ann. You can absolutely make this in the oven. Here are directions for oven baked cheesecake: https://bluejeanchef.com/recipes/vanilla-cheesecake/
If you don’t have a pressure cooker, what is the temperature would you set the oven on aND how long would you cook the cheesecake? Have you cooked this recipe in the oven?
Hi Mary. You’ll see full oven directions for cheesecakes here: https://bluejeanchef.com/recipes/vanilla-cheesecake/ If you’re making a smaller quantity, I would check the cheesecake a little sooner in the oven. Make sure the cheesecake still jiggles in the center, and then continue to let it sit in a turned off oven for an hour. ML
Hi, Meredith!! Made this cheesecake the other night and it came out delicious! Looked beautiful, too.
I made this for my cousin from Germany who never had cream cheese cheesecake. He loved it & I thought it was amazing! I love your recipes—keep cooking, Meredith!
I’m new to using the Instant Pot and was wondering if the cheesecake has to sit in the water while cooking or can I use the rack that came with the pot?
Hi Ann. Use the rack so that the cheesecake is not sitting on the bottom of the cooker. The water can come up the sides of the pan a little.
ML
Is an instant pot cooker the same as a regular pressure cooker. I have just the regular one. Are the instructions the same for baking?
Hi Beckie. An Instant Pot® is a brand name of pressure cooker, so you’re good to go! If you’re interested in baking a cheesecake in your oven, check out this link for instructions https://bluejeanchef.com/recipes/vanilla-cheesecake/ . The stovetop version uses a larger pan and therefore has higher ingredient quantities, but the cooking temp and time should be he same.
Hi Meredith. Love you. I’ve been using a pressure cooker for 3 years and I have a few 7” springform pans. If I use that for the cheesecake do I need to line the pan with foil? Also, if so, what do you suggest to grease the foil? I’m planning on making this recipe in the next few days.
Hi Denise. If you’re going to use your springform pan, I would wrap the WHOLE pan with foil very well – just in case the water seeps in the bottom. I would still grease the foil (with butter) before you wrap, just in case some of the cheesecake batter touches the foil on top. Lining a cake pan with foil is really just so you can remove the cheesecake from the pan, but you won’t have that trouble with your springform pan. Good luck and enjoy!
We made this blueberry lemon cheesecake this weekend for Father’s Day huge hit at first I was concerned at the small amount of butter for the crust but it was incredible it all really works just follow the steps and Wala the bomb Diggity cheesecake thank you for the recipe
I made this recipe last night, once with the swirl and once as a plain cheesecake using 1tsp vanilla as substitute for the lemon additions. The texture is creamy and less dry than traditional New York style and the flavor and level of sweetness is outstanding.
Tried this out the other day. It turned out amazing!!!!! So delicious.
Cooked for 25 mins. super liquidity and raw still 🙁
When making cheesecakes in a pressure cooker you pressure cook it on high for at least 22 minutes, then let the pressure drop naturally and leave the cheesecake in the pressure cooker for another hour. It will still be jiggly at that time, but it continues to cook and set up during that process. You then let it cool to room temperature and chill for at least 8 hours. It won’t be completely set up until it has properly chilled.
This recipe was REALLY good! The lemon zest mixed in with the graham crackers added a lot of flavor. I didn’t have a 7 inch pan to use in my 6 Qt. Insta pot so I used 3 mini spring form pans. I had to somewhat stack them on top of each other. The bottom pan cooked perfectly however I had to put the other 2 pans in the oven at 325 for an additional 15 minutes. Next time I’ll use the 7” pan. I will definitely add this recipe to my favorites! It was delicious!
Followed this recipe exactly and this cheesecake was an absolute mess. I knew the second I cut into it that it wasn’t done. It’s still edible even though it’s pretty much falling apart, although it doesn’t taste as great as I expected it to. Kinda sad I wasted all this product. Note to self, follow recipes that cook for longer…
Hi there. I’m so sorry you had trouble with the recipe. I’ve made this cheesecake and so many variations of it so many times and am confident that the 22 minutes in the pressure cooker + 15 or so minutes as the pressure drops naturally + 1 hour in the turned off cooker + 8 hours of chilling time in the refrigerator produces a cheesecake that has a perfect texture. All cheesecakes need hours of chilling to set up. If you did all that timing, I can’t imagine how the cheesecake would have been a mess. Perhaps the cooker never got to pressure?
Outstanding! I’ve never made cheesecake before, so my confidence level was pretty low. You made me feel like a master! Will definitely try all the various flavors. Thank you!
Haven’t made it yet, and I’m relatively new to Instant Pot. But when reading through the recipe I had a question. I know how to do a natural release, but for the cheesecake, I do a natural release and after the float drops, then I turn off the pot and then it sits for an additional hour? Then I remove it from the pot, let it sit until it comes to room temperature and then chill?
By the way, I made your pita for the first time ever (on the pizza stone) for guests. My husband said it was a real luxury, so much better than store bought and so easy. I’d cut it into eight pieces next time, but it was still delicious this morning for breakfast.
When the timer is up, just unplug the pressure cooker and let it sit for 1 hour. At this time the pressure will drop naturally and the cheesecake will continue to set up. Then remove from the cooker and allow the cheesecake to come to room temperature. After that, remove the aluminum foil, cover with plastic wrap and chill for at least 8 hours.
This was absolutely scrumptious! I substituted 12 lemon oreos w/ 2 Tbsps. of melted butter for the Graham cracker crust.