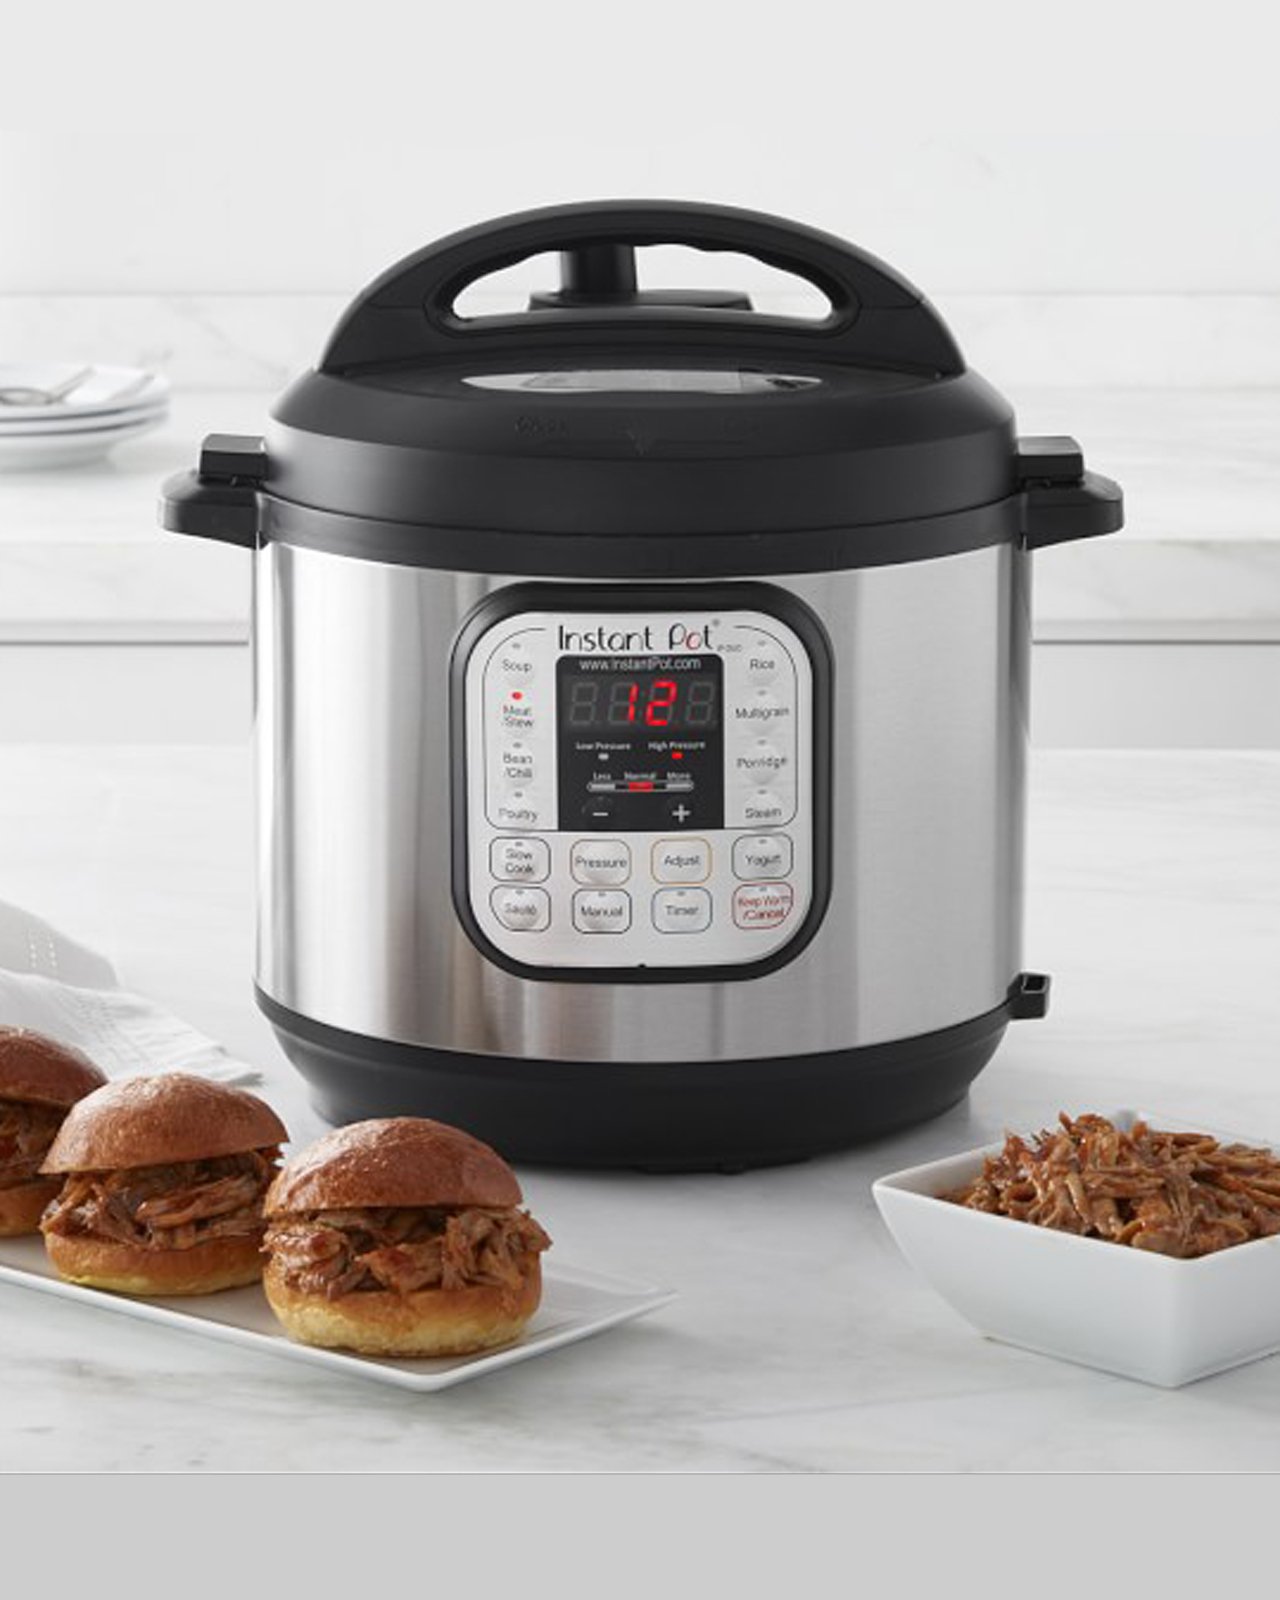
With all these great benefits, why are we not all drinking bone broth every day? Well, if you’re looking to buy high-end bone broth, you could spend as much as $10 for an 16 ounces of the stuff in New York City, and if you choose to make it yourself, you need to plan to spend many many hours doing so. But.. it doesn’t have to be that way… if you have a pressure cooker!

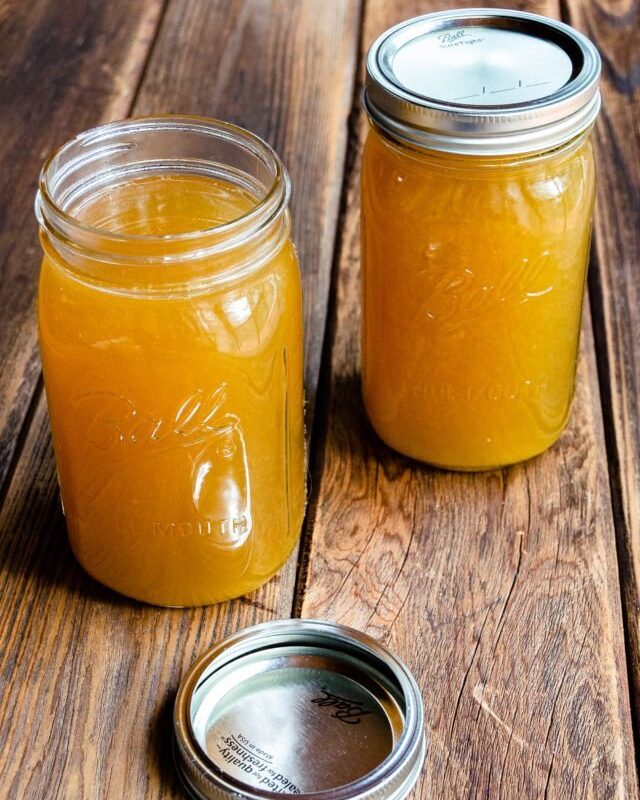
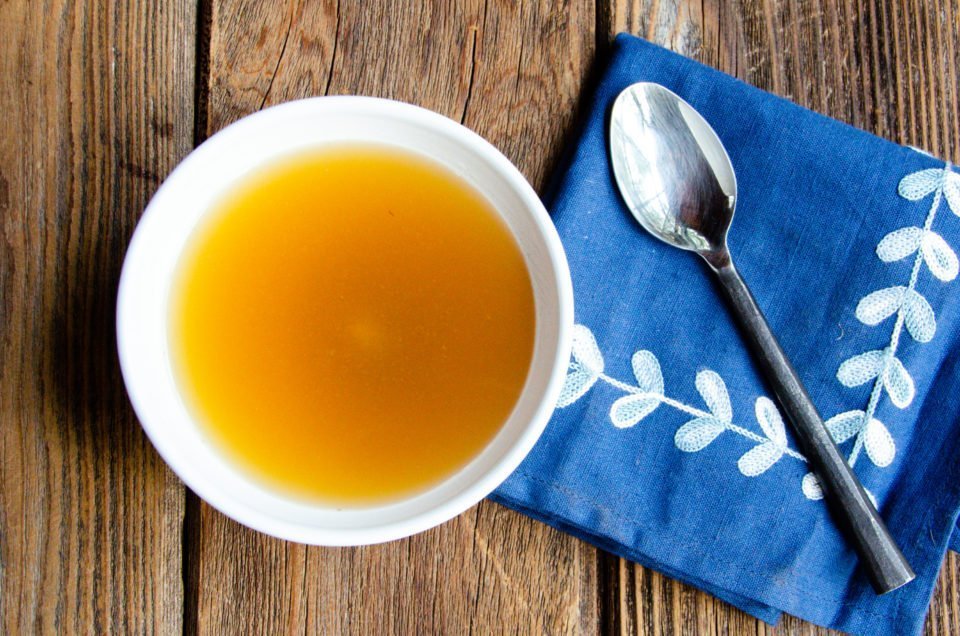
Bone broth is really a fortified stock – which is a flavorful liquid made from simmering animal bones for several hours (as opposed to broth, which is made from simmering bones and meat). The difference between bone broth and stock is that bone broth is simmered for many more hours, completely crushing the bones and extracting as many nutrients, vitamins and minerals and as much collagen as possible. In addition, because you simmer bone broth for so long, the flavor is concentrated and, quite frankly, delicious. The only downside to this long simmer is that a lot of the liquid evaporates over that period of time, so you’re left with less bone broth than you really think you deserve at the end of the process. If you have a pressure cooker, however, you can cut that time simmering down from 12 to 24 hours to roughly 3 hours, and because the pressure cooker doesn’t allow for much (if any) evaporation, you’re left with more of the delicious liquid at the end.
The secret to making the process of making bone broth at home an easy part of your cooking routine is to save all the chicken bones you usually discard over the course of your regular meals. If you roast a chicken, save the wings and backbone in an airtight bag or container and store it in your freezer, adding to it every time you have any leftover bones. If you have the option to buy a whole chicken instead of pieces, do it! It will be cheaper overall – you can cut the chicken into pieces, saving the raw bones along with all your other scraps. Once you have about 3 pounds of bones, pull out your pressure cooker and make some fortifying bone broth with the recipe below. If you don’t have the ability to save chicken bones, you can ask your butcher or meat counter for chicken bones and they will usually be happy to sell you some.


Meredith, I have some uncooked backs and bones left over fro cooked chicken. Can I use that combination to make bone both
Hi Maryann. Yes, you can use that combination to make bone broth. I always suggest roasting the bones first for more intense flavor. You could roast both cooked and uncooked bones or not – whichever suits you. I keep a zipper sealable plastic bag in my freezer and collect all my chicken bones there until I have enough to make a batch of broth.
Thx, your the best. It’s yummy!
This is honestly the best bone broth I have ever had. It is so simple and you know what is in the broth. I never buy it from the store now. Thanks again for a great recipe BJC
Can you use the leftover carcass from a rotisserie chicken?
Yes. I save both raw and cooked chicken bones, keeping a bag in my freezer for when I’m ready to make bone broth.
Can I use bones from a rotisserie chicken? I want to make this soon.
Sure! I save all my chicken bones – cooked and raw – for bone broth.
Meredith,
We had our Thanksgiving early so I made the bone broth with the turkey carcass. I turned out great! So easy in the instant pot. Thanks for the recipe.
Will this get the gelatinous texture that is so coveted with a bone broth?
Yes, it will be thick and gelatinous once it is cool.
Can this bone broth be canned?
Hi John. The bone broth can be canned using the pressure canning method and a pressure canner (not to be confused with a pressure cooker). You cannot preserve bone broth with the water bath method because it is a low acid food. You could also store it in a freezer for up to 6 months.
I do not have a pressure cooker, any alternatives? Just made a couple dozen butter tarts and thought of you
Hi Judy. Love those butter tarts!! You can make bone broth in a slow cooker or on the stovetop. Slow cook on low for 18 to 24 hours or simmer, uncovered, over very low heat on the stovetop for 12 to 24 hours. The longer you cook it, the richer the broth.
Can this be made in the oven?
Hi Sylvia. I would not make bone broth in the oven, but you can make bone broth on the stovetop. Simmer over low heat for 12 to 24 hours. The longer it simmers, the richer the stock. Cook it uncovered at a very low simmer to prevent the liquid from reducing too quickly.
Can this be cooked on stove top? If so, for how long? TIA
Hi Karen. You can simmer bone broth on the stovetop over low heat for 12 to 24 hours. The longer it simmers, the richer the stock. Cook it uncovered at a very low simmer to prevent the liquid from reducing too quickly.
Can you make bone broth in a slow cooker if you do not have s pressure cooker ?
Hi Christine. You can cook bone broth in a slow cooker on low for 18 to 24 hours. You should keep an eye on it and add more water if needed during the cooking process.
The last 2 times I made broth it came out with an awful bitter taste. The last one was so bad I dumped the whole thing. I have cooked it in a nesco roaster pan over night on a low heat, and I have done it with my instant pot. What am I doing wrong?
Chicken stock can turn bitter if cooked too long. The enzymes in the bones and meat break down too much and produce amino acids which can give you a bitter taste. If making stock in a roasting unit or multi cooker unit, you have to make sure the temperature is only 200 degrees. The low heat setting on your unit may be higher than that. You should manually set the temperature or use a true slow cooker unit. When cooking under pressure you only need to cook it for 3 hours.
I noticed on the recipe that it says to put the bones in the oven. Does that mean the wings too?
Yes, you roast the wings with the bones in the oven.
Turkey bones make the very best broth. Almost disowned my only son when He threw away his turkey bones last Thanksgiving. Question. How important is it to roast bones in oven before making the broth?
S
You don’t have to roast the bones first, but it really enhances the flavor of the final broth. It’s the difference between a light colored broth and a deep rich darker colored broth. I think if you’re making your best bone broth, you should definitely roast the bones.
Recipe called for skinless chicken thighs. Removed the skin and some fat from the chicken. Can I do anything with the scraps or just throw it out?
Hi Terry. I would just discard extra fat and chicken skin, but if you wanted a salty snack, you could fry up the chicken skin in a skillet, seasoning it well with salt and pepper until crispy.
Made some yesterday for our Thanksgiving dinner. I had gotten some turkey backs and necks, roasted them and then made the broth. So easy to do!
Can you provide a link to your sheenwa (so?)
Please and thank you.
Here’s one: https://bluejeanchef.com/product/stainless-steel-reinforced-bouillon-strainer/ You will find, however, different meshes on different chinois. This one is a little more coarse than mine, but more versatile.
Hi! We’re a thigh and leg family. Is it ok to just use 3lbs of those parts?
Absolutely!
I don’t have a pressure cooker; stovetop method has the same result but just takes longer, correct?
That’s right, Rosemary. Same results, but much longer.
Hi Meredith …I’ve been making bone broth similar to your recipe ever since I got my IP a few years back (actually it’s the one thing I make the most with the IP). I’ve never roasted my chicken backs or wings before but will definitely give it a shot. I omit the salt and usually add it to whatever soup I’m making. My daughter drinks bone broth hot from a mug. I also add a couple of smashed garlic cloves and maybe 8-10 peppercorns. Bone Broth definitely takes soup to a whole new level. I bought large silicone ice cube trays that hold about a cup of broth in each cube and freeze them. That way if I need stock for another dish I can just pop one out and defrost in the microwave. Never use store bought again. Thank you for posting your recipes and videos. Love them!
can a crock pot be use to make bone broth
Yes, you can make bone broth in a slow cooker. Keep it on low for 24 – 48 hours.
ML
Been making broth for decades and your recipe is by far the best, easiest and most delicious. Thank you so much. Lucia